Xcode Tip: Mastering LLDB debugger

Mastering Xcode Debugging with LLDB: A Step-by-Step Guide to Changing Variables at Breakpoints

In the realm of iOS and macOS development, Xcode stands as the primary Integrated Development Environment (IDE), offering powerful tools for developers, including the LLDB debugger. LLDB, or LLVM Debugger, is a powerful successor to GDB, providing advanced debugging capabilities right within Xcode. One of the lesser-known but incredibly useful features of LLDB is the ability to modify variable values directly during a debugging session. Here’s a comprehensive guide on how to leverage this feature to enhance your debugging workflow.

Understanding LLDB in Xcode

LLDB is more than just a debugger; it’s an interactive environment where you can inspect and manipulate your program’s state. When your app hits a breakpoint, you’re not just pausing execution; you’re entering a session where you can query, modify, and even execute code within the context of your app’s current state.

Setting Up Your Debugging Session

  1. Open Your Project in Xcode: Launch Xcode and open your project.
  2. Set a Breakpoint: Navigate to the line of code where you want to pause execution. Click in the gutter to the left of the line number to set a breakpoint.
  3. Run Your App in Debug Mode: Click the run button or use the shortcut (Cmd + R). Your app will run until it hits the breakpoint.

Modifying Variables with LLDB

Once your app hits the breakpoint, follow these steps:

  1. Open the Debugger Console: At the bottom of Xcode, there’s a console area. If it’s not visible, go to View > Debug Area > Activate Console or use the shortcut (Cmd + Shift + Y).
  2. Inspect Variables: You can see local variables in the debugger sidebar. Alternatively, type frame variable in the console to list variables in the current scope.
  3. Change a Variable’s Value:
  • Direct Assignment: If you want to change a variable named myVariable to 10, simply type:
    expr myVariable = 10
  • Using Expressions: You can also use more complex expressions. For instance, to increment a counter:
    expr counter++
  1. Confirm Changes: After modifying a variable, you can check its new value by typing frame variable again or by hovering over the variable in your code if you’ve enabled variable watching.

Practical Example

Imagine you’re debugging a function that calculates the factorial of a number, and you want to see how changing the input affects the result:

func factorial(_ n: Int) -> Int {
    if n <= 1 {
        return 1
    } else {
        return n * factorial(n - 1)
    }
}
  • Set a breakpoint inside the factorial function.
  • Run your app to hit the breakpoint.
  • Change the value of n:
  expr n = 5
  • Continue execution (Cmd + Option + Y) to see how this change affects the function’s output.

Tips for Effective Debugging with LLDB

  • Use help in the console to discover more commands.
  • Watch Expressions: You can add expressions to watch in the debugger sidebar, which updates dynamically as you modify values.
  • Breakpoints with Conditions: Set breakpoints that only trigger when certain conditions are met, reducing unnecessary pauses.

Conclusion

Mastering LLDB within Xcode can significantly boost your productivity as a developer. The ability to alter variable values at runtime not only aids in debugging but also in understanding the flow and impact of your code in real-time. This technique is particularly useful for experimenting with different scenarios without needing to recompile or rerun your application. Remember, effective debugging is about exploring, understanding, and sometimes, creatively manipulating your code’s environment to uncover issues or test hypotheses. Happy debugging!

Xcode tip: Reveal Editor History

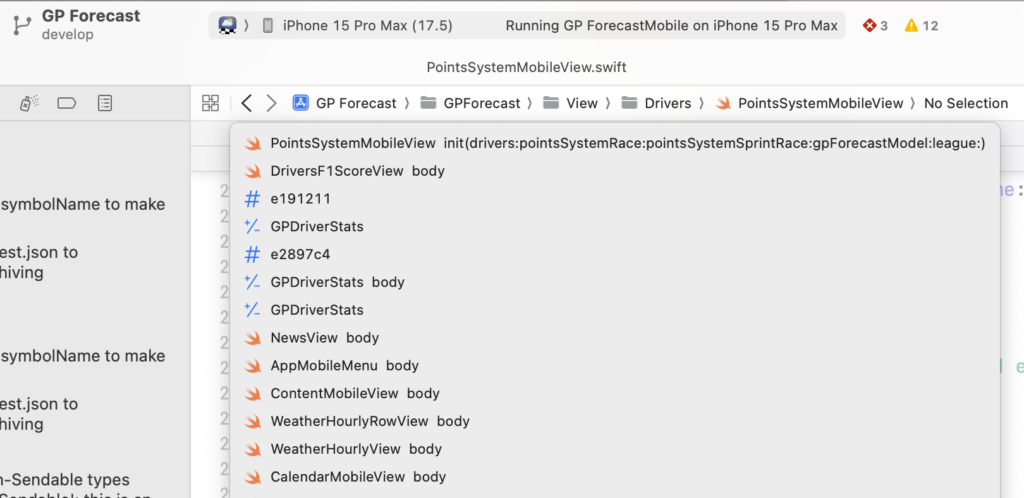
In Xcode in the editor window you can use CONTROL+CMD+ Arrow left/right, to go forward and backwards in files which you have had in your editor. This is really nice and effective to go one or two files back. But if you want to go back many files you can tap and hold on the < and > buttons to reveal the complete history.

Xcode SwiftUI Preview Tips

Loved by some, hated by many developers — is the SwiftUI preview. I was also in the latter camp to be honest, until recently.

Here are some things you can do to enjoy your SwiftUI previews again.

When you get an error, tap on the error and read it carefully, often it gives a hint. For example, you have been changing code left and right, then you went to this certain view, and you activated the preview pane with Option+Command+Enter — and getting an error.

Make sure before activating a preview canvas, that your code builds and if not, then fix the error and try again.

If you have done this and you still get an error, make sure you don’t have another tab open with a preview active for another target, close those and try again.

If that also fails you can try to clear the preview cache with this terminal command, I made an alias in .zprofile called simprevdel.

Compiler flag PREVIEW

You can add the PREVIEW compiler flag to use it as a compiler directive to load preview mock data.

Don’t forget to inject the EnvironmentObject model in the Preview View.

Enjoy your previews!

Automate your Xcode workflow / Dev tools with keyboard shortcuts

Hardware

As developers, we start and switch a lot between common developer applications each day. You can buy some external hardware keyboards to achieve this, like for example with these USB Mini 3-Key Keypad, or the HUION Keydial, 9-Keys USB Mini Keypad, Programming Macro Pad. They work fine but you must always pack them in your bag when going to your workspace, but make sure before purchasing them, that they have macOS software drivers.

macOS Shortcuts

Personally I have the Huion, and use it for general Xcode keyboard shortcuts — like show / hide panes, delete current line, Run, Stop, etc, and to save keys I use macOS Shortcuts to launch applications like Xcode.

To achieve this do the following:

  1. open Shortcuts
  2. tap on the + in the title bar
  3. In the categories tab on the right, select Open App, and drag it on the canvas
  4. Click on App, to select Xcode
  5. Click on the info circle top right > Add keyboard shortcut > Control+Option+Command+x
  6. If you see on the canvas, Receive input from, deselect all
  7. Tap on the default name in the title: Open App, to change it to Open Xcode, and you can optionally assign an icon, but this is not really needed.
  8. Now comes the confusing part, there is no save, you just close this window with the red x
  9. Close Shortcuts
  10. Test by tapping Control+Option+Command+x

Other Dev tools

Now you can repeat this process for your most common developer tools like SourceTree, Interactful, Slack, enjoy!

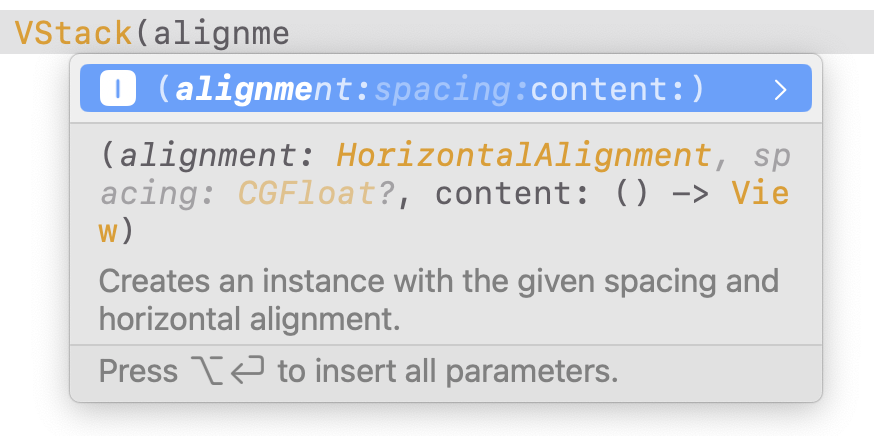
SwiftUI autocomplete tricks

Fonts

There are some view properties which you use a lot and are difficult to type like:

.font(.caption)

here you type .font [ENTER] -> this makes .font(), you have to cursor back into the brackets to type .cap[ENTER]

This you can achieve faster by typing .fontcaption[ENTER], or .fonttitle[ENTER]

Frames

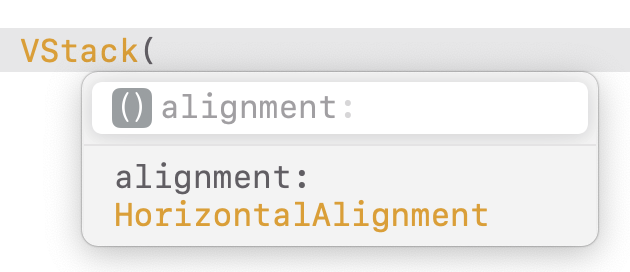
You probably know already the properties trick to type the first two characters of the properties to get them preselected like so typing .framewihe[ENTER]:

If you only want one of those sub properties you can type directly

.width[ENTER]

Xcode tip: Fix misplaced compiler directives like #if os(iOS)

When developing for multiple Apple platforms you can use compiler directives to customize properties for each OS, so you can use one View for multiple platforms. However Xcode aligns them in the code but not at the beginning of each line. There is a simple trick to auto align them all at once in a View by deleting the closing bracket of the View and adding it back.

Before delete:

After delete/adding of last bracket at line 128.

Recover your old Pixelmator version in macOS Sonoma

I’m a long term Pixelmator user, it has supported me very well during the times I’ve been developing and needed some image trickery.

Until recent it would not start anymore — after I upgraded to macOS Sonoma 14.x. I found out that the product has been revamped to Pixelmator Pro now, but I didn’t want to pay the license again, I’ve one for my current version.

After some long searches in the inter webs fora, I found a reasonable solution.

  1. Open Terminal
  2. cd ~/Library/Containers
  3. rm -rf com.pixelmatorteam*

Now the app starts again at least, and it saved me another 60 Euros. I’ve still one issue with gradients, when I open the gradients tool, the app crashes, and I’ve to type the terminal commands again to get it booting again. But so far I can live with that. Somewhere along the way I need to purchase a new license I know, but until then I’m happy to have it back for basic image manipulation and icon creation.

Xcode tip – rename

When you start developing an app, you don’t often know yet what the real name of your app will be, even you think you know. What do I mean by that?

Well, say you call your app TrainSleeper. You create the new app like this in Xcode and all is fine. Once you create the app in App Store Connect, it might shout at you that someone else owns this name and you cannot use it. You start searching for an app with this name in the store to see it, but it does not exist. This is because you can add an app with a certain name but never publish it. That name stays locked to the person who did this.

Anyway we need a lot of renaming during each development cycle, there is nothing to be ashamed about, it’s a very common task.

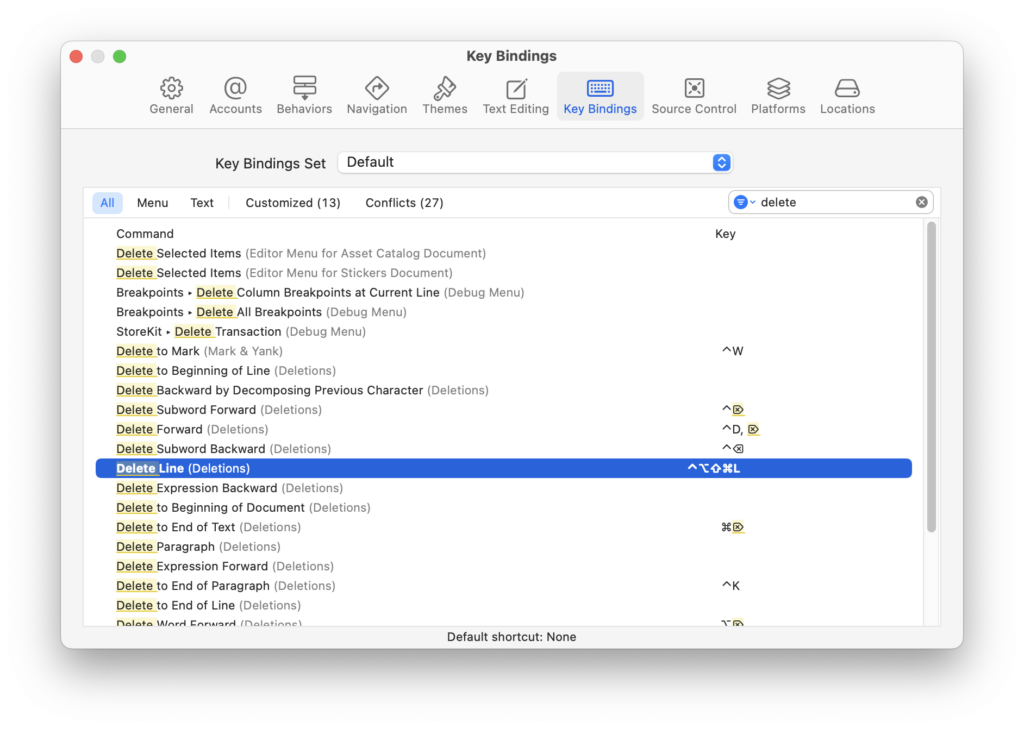
For this reason I added a keyboard shortcut to rename.

Give the rename menu function a shortcut.

Go to Settings with CMD + ,

Go to the Key Bindings tab

In filter type rename

In the key column after the rename word press all the keys you want, I selected;

SHIFT + CONTROL + OPTION + COMMAND + R

Why so many keys? Well Xcode has many shortcuts, this avoids conflict with other shortcuts